QR-Code-Check-in für Events, der in einer Tabelle endet
Für einen QR-Code-Check-in, der in einer Tabelle endet, importieren Sie Ihre Teilnehmerliste in eine Scan-App, scannen jeden Ausweis am Einlass und exportieren die Sitzung anschließend als CSV. DataScan zeigt sofort den passenden Namen aus der importierten Gästeliste — offline, sodass schlechtes Wi-Fi am Veranstaltungsort keine Rolle spielt — und der Export lässt sich in Excel öffnen oder in Google Sheets importieren, mit einer Zeile mit Zeitstempel pro Scan.
Die Klemmbrettschlange und der SaaS-Vorschlaghammer
Der Check-in bei Veranstaltungen scheitert meist in eine von zwei Richtungen. Das Klemmbrett: eine gedruckte Liste, ein Textmarker, eine Schlange, die wächst, während eine ehrenamtliche Kraft Namen mit dem Finger absucht — und danach tippt jemand die Markierungen in eine Tabelle. Oder der Vorschlaghammer: eine vollständige Veranstaltungsplattform mit Anmeldung, Zahlungen, Ausweisdruck und einer Gebühr pro Person, eingeführt, obwohl eigentlich nur ein schneller Einlass und eine Anwesenheitsdatei gebraucht wurden.
Wenn Ihre Anmeldungen ohnehin in einer Tabelle liegen — eine Kursliste, eine Mitgliederliste, ein Serienbriefexport —, ist das fehlende Stück klein: ein Scanner, der die Liste kennt, am Einlass den Namen anzeigt und die Ergebnisse als Datei zurückgibt. Das ist ein Problem in der Größe einer Smartphone-App.
Anwesenheitserfassung per Scan in eine CSV: Schritt für Schritt
- Jeden Ausweis oder jedes Ticket mit einem eindeutigen QR-Code versehen Jeder QR-Generator genügt — der Code muss lediglich eine eindeutige Kennung tragen: eine Anmeldenummer, eine E-Mail-Adresse, eine Mitgliedsnummer. Serienbrief-Werkzeuge, Ausweisdrucker und sogar Tabellenformeln, die QR-Bild-URLs bauen, erledigen das in großer Zahl. (Papiertickets mit Barcodes funktionieren identisch — DataScan liest 13 Codetypen.)
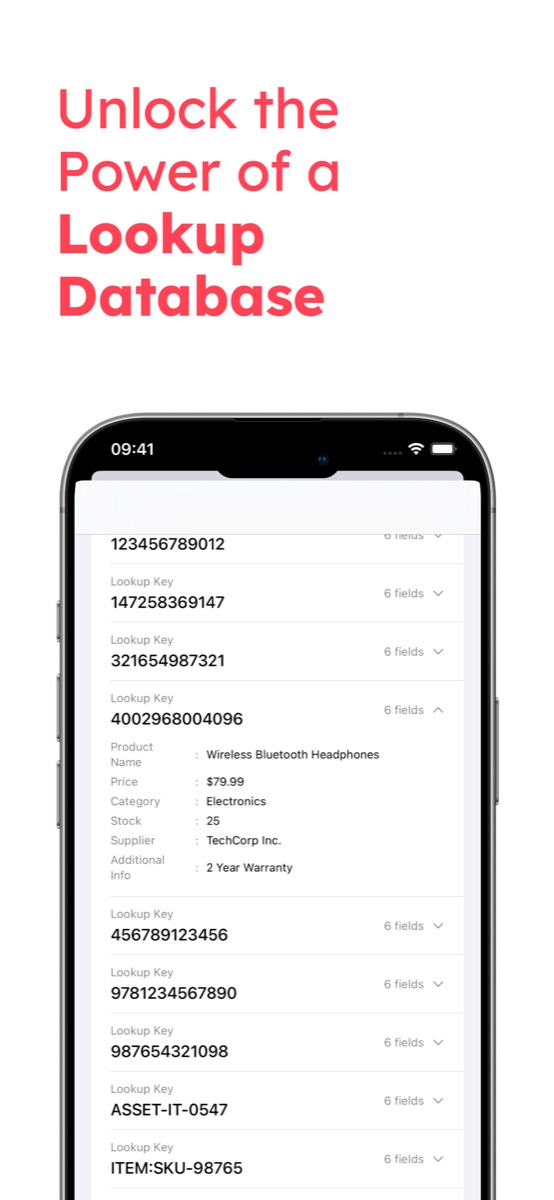
- Die Teilnehmerliste in DataScan importieren Exportieren Sie die Anmeldungen als CSV — zuerst die Kennung, dann den Namen, dann alles, was das Einlasspersonal sonst noch sehen soll — und laden Sie sie in die Nachschlagedatenbank der App. Die gesamte Gästeliste liegt nun auf dem Smartphone selbst, weshalb die Netzabdeckung am Veranstaltungsort keine Rolle mehr spielt.
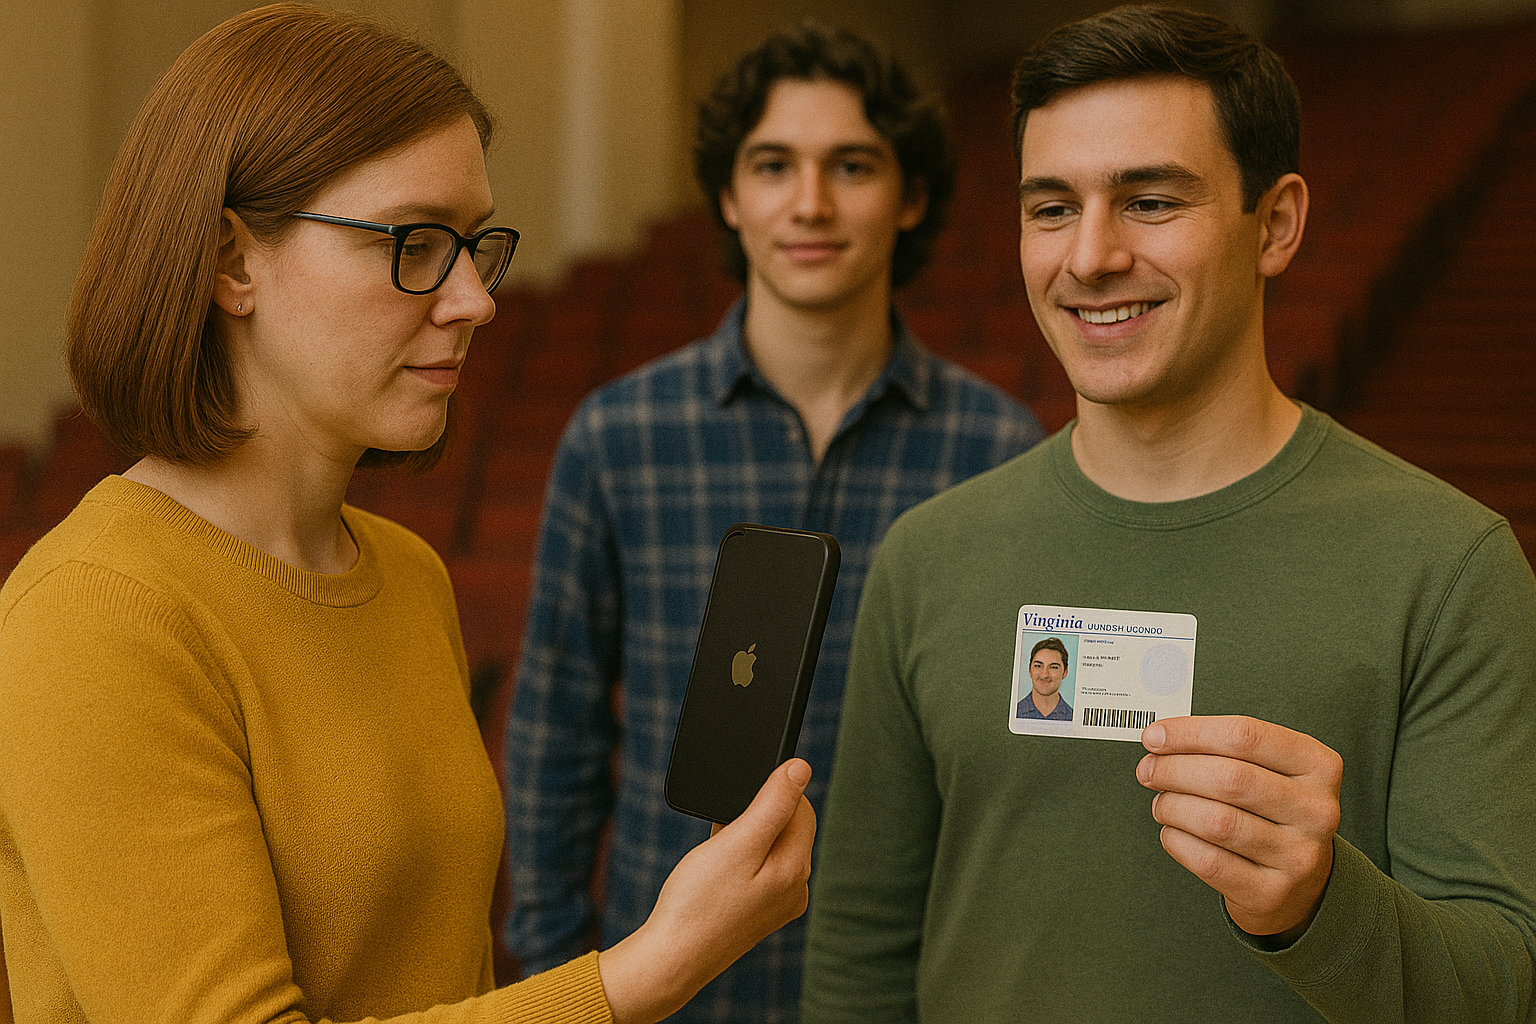
- Ausweise am Einlass scannen Im Kontinuierlichen Scan mit eingeschaltetem „Querverweise aktivieren“ erscheinen bei jedem Scan der Ausweiscode und der Name der Person — die erste Spalte nach der Kennung — und das Einlasspersonal winkt den Gast durch. Bei einem Code, der nicht auf der Liste steht, erscheint kein Name: das Signal für „dieser Ausweis braucht ein Gespräch“, bemerkt vor dem Einlass.
- Den Nachschlage-Scan für Rückfragen nutzen Braucht jemand den vollständigen Datensatz eines Gastes, zeigt der Nachschlage-Scan jede Spalte zu diesem Ausweis. Er speichert nichts, lassen Sie den Einlass also im Kontinuierlichen Scan laufen — ein Scan mit Zeitstempel pro Ausweis, so schnell Sie zielen können, mit einer Touch-and-Hold-Pause, wenn die Schlange stockt — und erledigen Sie den vollständigen Listenabgleich anschließend in der Tabelle.
- Die Anwesenheitsdatei exportieren Türen zu, Sitzung als CSV oder Excel exportieren: eine Zeile pro gescanntem Ausweis, jeweils mit Zeitstempel, dazu die Felder der Person, wenn „Mit Nachschlagedaten abgleichen“ eingeschaltet ist. Versenden Sie sie per E-Mail über Ihren eigenen SMTP-Server, laden Sie sie per SFTP hoch oder teilen Sie die Datei mit einer beliebigen App. Für Google Sheets importieren Sie die CSV wie im Google-Sheets-Ratgeber beschrieben.
- Die Anwesenheit mit den Anmeldungen abgleichen In der Tabelle markiert
=COUNTIF(scans, id)gegen die Anmeldeliste, wer erschienen ist und wer nicht. Diese eine Spalte ist die Liste der Nichterschienenen für die Nachfassaktion, die Personenzahl für die Cateringrechnung und — bei Schulungen — eine Anwesenheitsliste mit Scanzeiten.
Vor der Türöffnung: der Zehn-Minuten-Probelauf
Führen Sie am Vortag eine Probe von Anfang bis Ende durch. Drucken oder zeigen Sie drei Testausweise — einen gültigen, einen absichtlich nicht auf der Liste, einen doppelten — und schicken Sie sie durch exakt denselben Ablauf: Der gültige Ausweis sollte seinen Namen zeigen, der fremde keinen Namen, und der doppelte sollte zweimal im Export erscheinen. Exportieren Sie anschließend die Testsitzung und öffnen Sie sie in Ihrer Tabelle, damit Sie das Dateiformat nicht zum ersten Mal um Mitternacht nach der Veranstaltung sehen. Prüfen Sie bei der Gelegenheit die physischen Gegebenheiten: Glänzende Ausweislaminate spiegeln unter der Eingangsbeleuchtung (kippen statt kämpfen), und QR-Codes auf Smartphone-Displays scannen am besten bei voller Helligkeit.
Tipps für den Einlass
- „Doppelte Scans verhindern“ einschalten. Die Einstellung ignoriert einen Ausweis, der zweimal hintereinander vor die Kamera gehalten wird. Ein später erneut vorgezeigter Ausweis wird trotzdem erfasst, Wiederholungen finden Sie also mit COUNTIF im Export.
- Ein Smartphone pro Eingang, eine Datei pro Eingang. haupteingang 2026-07-10 und seiteneingang 2026-07-10 lassen sich sauber in der Tabelle zusammenführen und zeigen Ihnen, welcher Eingang die Last getragen hat.
- Das Einlasspersonal auf den Ablauf ohne Treffer einweisen. Der fehlende Name ist das Signal; die Aufgabe des Menschen ist das freundliche „Ich checke Sie eben manuell ein“ — entscheiden Sie vor Türöffnung, wo manuelle Ergänzungen notiert werden.
- Zeitstempel sind die Zugabedaten. Die Verteilung der Ankunftszeiten sagt Ihnen, wann Sie den Einlass beim nächsten Mal besetzen sollten — kostenlose Erkenntnis aus Daten, die Sie ohnehin erfasst haben.
Beispiel-Workflows: Das Beispiel zum Veranstaltungs-Check-in zeigt diese Einrichtung am Einlass, und das Beispiel zur Anwesenheitserfassung an Universitäten zeigt die wiederkehrende Variante — dieselbe Liste, Vorlesung für Vorlesung gescannt und je Vorlesung exportiert.
Wann eine dedizierte Check-in-Plattform das bessere Werkzeug ist
Ehrlichkeit über die Passung: Dedizierte Check-in-Werkzeuge (OneTap und ähnliche) und vollständige Veranstaltungsplattformen existieren aus guten Gründen — Online-Anmeldung und Zahlung, Ausweisdruck vor Ort, Programme über mehrere Sitzungen, Selbst-Check-in am Terminal, Live-Dashboards über viele Eingänge hinweg. Wenn Sie das brauchen, zahlen Sie dafür. Der Ansatz mit der Scan-App gewinnt die breite Masse darunter: Listen, die ohnehin in Tabellen liegen, Veranstaltungsorte mit unzuverlässigem Wi-Fi (siehe den Ratgeber zum Offline-Scannen), wiederkehrende Kurse und Mitgliederveranstaltungen sowie jeden Check-in, dessen Ergebnis eine Anwesenheits-CSV statt eines Dashboards ist. Derselbe Nachschlage-Ablauf lässt sich weit über Veranstaltungen hinaus verallgemeinern — der Ratgeber zur Datenbankprüfung behandelt das — und die DataScan-Übersicht zeigt alle fünf Modi. Die 7-tägige kostenlose Testphase umfasst alles, ein Probelauf mit der morgigen Gästeliste kostet also nichts.
Häufig gestellte Fragen
Ja — das ist der stärkste Grund, den Check-in so durchzuführen. Die Teilnehmerliste wird vorab auf das Smartphone importiert, und jeder Scan wird lokal gespeichert, sodass Prüfung und Erfassung ganz ohne Verbindung funktionieren. Kellerlocations, Zelte und überlastetes Konferenz-Wi-Fi ändern daran nichts. Die Anwesenheitsdatei exportieren Sie, sobald Sie wieder eine Verbindung haben.
Die Einstellung „Doppelte Scans verhindern“ ignoriert denselben Ausweis, wenn er zweimal hintereinander gescannt wird, und fängt so einen versehentlichen Doppelscan ab. Einen später erneut vorgezeigten Ausweis erkennt sie nicht, das ist am Einlass eine Aufgabe für das Personal. Jeder Scan trägt einen Zeitstempel, sodass ein COUNTIF auf die exportierte Ausweisspalte jeden Code zeigt, der mehr als einmal durchgekommen ist. Bei Veranstaltungen mit mehreren Eingängen exportiert jedes Smartphone seine eigene Datei; führen Sie die Dateien vor dem Zählen zusammen.
Ja. Exportieren Sie die Sitzung als CSV und importieren Sie sie in Google Sheets (Datei, Importieren, Anhängen). Der Ratgeber zum Scannen nach Google Sheets beschreibt die Schritte im Detail.
Nein — es ersetzt den Teil mit dem Scannen am Einlass und dem Anwesenheitsbericht, nicht die Anmeldung. Wenn Sie Online-Ticketverkauf, Zahlungsabwicklung, Ausweisdruck und Programme auf Sitzungsebene benötigen, rechtfertigt eine dedizierte Veranstaltungsplattform ihre Gebühren. Liegen die Anmeldungen bereits in einer Tabelle und ist das Ergebnis am Ende ebenfalls eine Tabelle, ist eine Scan-App das passend dimensionierte Werkzeug.